
OSRS Vardorvis Guide: Strategy, Mechanics & Loot (DT2 Boss) | Tons of XP Blog
Execute Vardorvis! This OSRS guide covers strategies, mechanics (Axes, Spikes, Gaze, Strangle), weaknesses, loot, and tips for this Desert Treasure II boss.
OSRS Vardorvis Boss Guide
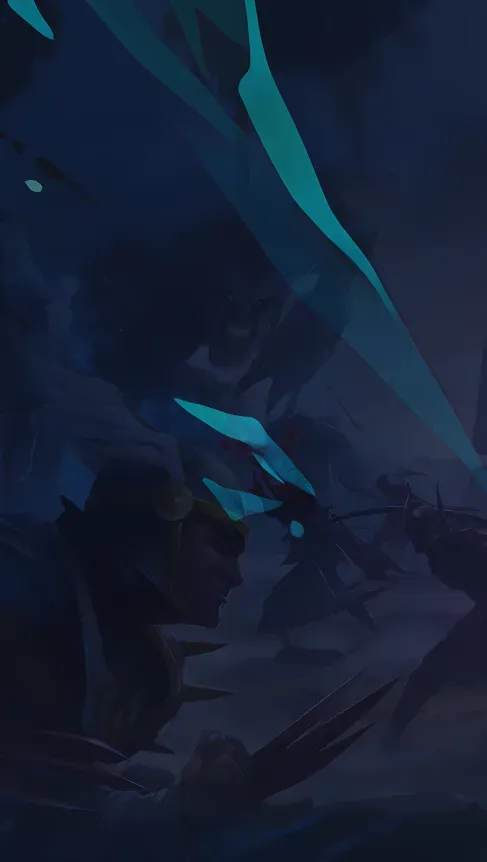
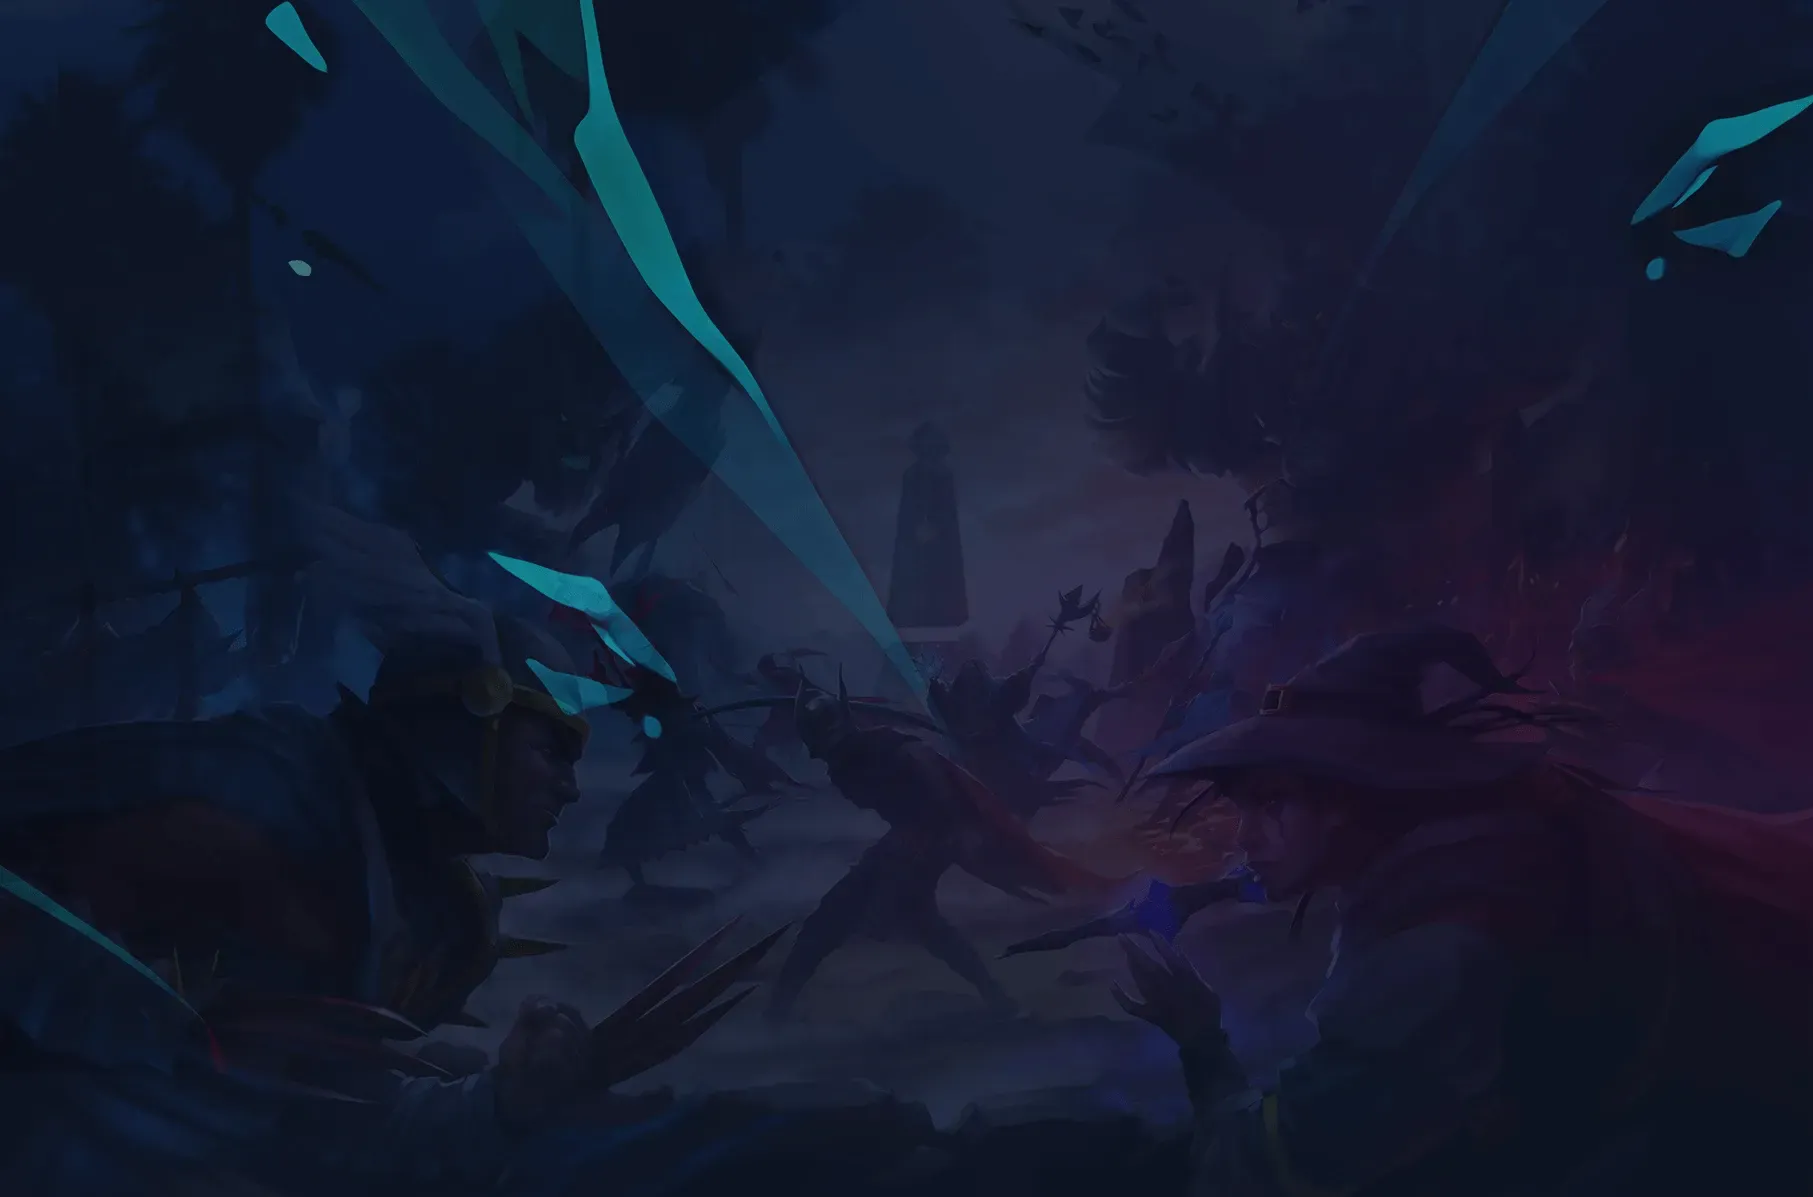
Prepare for a relentless assault from the Strangler-controlled Carnifex Maximus Vardorvis, one of the four bosses unlocked by Desert Treasure II - The Fallen Empire. Fought in the Stranglewood Ritual Site, Vardorvis tests your reaction time, spatial awareness, and ability to handle multiple overlapping mechanics under pressure.
This guide covers Vardorvis's unique stat scaling, his deadly special attacks, effective strategies, loot table, and tips for surviving this executioner.
Location & Access
- Requirement: Completion of
Desert Treasure II - The Fallen Empire. - Location: Stranglewood Ritual Site (North-west Stranglewood).
- Fastest Travel:
- Ring of Shadows teleport (requires Strangled Tablet infusion).
- Fairy Ring
BLSor Xeric's Talisman (Xeric's Honour), then travel to the Stranglewood rowboat and run through the forest, ideally using the quest shortcut north-west of the temple.
- Instance: Solo only.
Fight Overview: A Relentless Assault
Vardorvis (700 HP) is a pure melee attacker with high accuracy (+190 Attack) that increases in strength as the fight progresses. His special attacks are used randomly, not in a set rotation, adding to the challenge.
- Weakness: Slash. Crush is secondary. Ranged/Magic are highly ineffective.
- Stat Scaling: As Vardorvis loses HP, his Defence decreases (making him easier to hit) but his Strength increases (making his attacks hit harder). Max hit starts around 32, increases to ~43 when low HP.
- Life Steal: Vardorvis heals for 50% (rounded down) of the damage his melee auto-attacks inflict on you. Protect from Melee significantly reduces this by lowering his damage output (~75% reduction).
- Aggression: Unlike other DT2 bosses (post-quest), Vardorvis is aggressive immediately upon entering the Ritual Site if not killed recently. The fight starts when you attack him. Tendrils block the exit rock once combat begins.
Special Attacks (Random Order)
- Swinging Axes:
- Mechanic: Tendrils swing 1-3 axes (more axes at lower HP) across the 9 quadrants of the arena. Axes follow straight or diagonal paths. Getting hit deals up to 35 damage (reduced ~50% by Protect from Melee) and applies a Bleed (15+ damage over time, ticks faster if running).
- Dodge: Stand in a safe zone (e.g., cardinal tiles from center, tiles near pillars). Move two tiles diagonally away from an incoming axe's path. Advanced: Tick-perfect "Axe Skips" exist.
- Highlighting: Use RuneLite's Better NPC Highlight plugin on Axe IDs (12225 static, 12227 moving) to see true tiles clearly.
- Darting Spikes:
- Mechanic: Vardorvis dashes around you, leaving cracks that erupt into damaging spikes after a few seconds. Deals up to 25 damage and heals Vardorvis for half that. Number of darts increases with lower HP (1 -> 2 -> 3).
- Dodge: A crack usually spawns under you unless you stand near the edge of the arena (by the tendrils). Standing near the edge minimizes the number of cracks spawned (often just one) and prevents one from appearing directly underfoot.
- Head Gaze (Below 570 HP):
- Mechanic: Chat message: "Vardorvis' head gazes upon you..." Vardorvis's detached head fires a green projectile.
- Counter: Immediately switch to Protect from Missiles. Failure drains 10 Prayer and disables overheads for 3 ticks, leaving you vulnerable to high melee/axe damage. Hits off-tick from the body.
- Strangle (Below 570 HP):
- Mechanic: Vardorvis slams his arm down, binding you. 4-8 red spores appear on screen. Click them all within ~5 seconds or take high damage.
- Tip: You can still attack Vardorvis during the bind animation by right-clicking him and selecting 'Attack' after the overlay appears.
Enrage Phase (<33% HP / ~231 HP)
- No visual change, but mechanics intensify significantly.
- Axes: New axes spawn almost immediately after the previous set finishes. Three axes become standard.
- Head Gaze: Occurs much more frequently.
- Specials Overlap: High chance of dealing with axes, head gaze, and potentially spikes simultaneously. Maintaining focus and prayer flicking is crucial.
Strategy & Tips
- Prayer: Keep Protect from Melee active almost constantly due to his high accuracy and life steal. Quickly flick to Protect from Missiles ONLY when the Head Gaze projectile is fired, then immediately back to Melee.
- Positioning: Utilize safe spots for axe dodging. Standing near the edge minimizes spike spawns. Be ready to move diagonally for axes.
- Axe Dodging: Prioritize dodging axes over dealing damage. Getting hit, especially with bleed, is very costly. Learn the safe tiles and diagonal movements.
- Head Gaze Reaction: This is critical. React instantly to the chat message/head animation with Protect from Missiles. A missed flick often leads to death, especially during enrage.
- Strangle Spores: Click the spores quickly. Use the brief respite to heal or re-pot if needed, potentially using the attack-during-bind trick.
- DPS: Maintain consistent damage, especially during enrage. Reducing his Defence helps, but his increasing Strength means faster kills are safer. Use high-damage specs (Claws, Voidwaker) early or sustain specs (AGS) later.
- Thralls/Death Charge: Recommended (Arceuus Spellbook) for passive DPS and spec energy sustain.
Recommended Gear
- Weapon: Soulreaper Axe (Best due to ramping damage/accuracy) > Scythe of Vitur (only hits 2x) > Blade of Saeldor / Noxious Halberd > Abyssal Tentacle > Abyssal Whip / Zombie Axe. Slash is key.
- Special Attack: Dragon Claws / Burning Claws (burst) > Voidwaker (Defence ignore useful early) > Ancient Godsword (sustain) > Saradomin Godsword (sustain) > Dragon Dagger (budget burst).
- Armour: Prioritize Strength > Slash Accuracy > Defence. Torva > Bandos / Inquisitor (less effective due to Slash weakness) > Fighter Torso. Serpentine Helm negates bleed/poison if struggling. Justiciar viable for tanking but significantly lowers DPS.
- Ring: Bellator Ring (synergizes with Slash) > Ultor Ring > Berserker Ring (i). Lightbearer for spec weapons. Ring of Suffering (ri) for tank/recoil.
- Other: Infernal/Fire Cape, Ferocious/Barrows Gloves, Primordial Boots, Amulet of Torture/Rancour/Blood Fury.
Loot Highlights
- Unique Table (1/136 roll):
- Executioner's Axe Head (1/1088): Component for Soulreaper Axe.
- Ultor Vestige (1/1088): Creates Ultor Ring (BiS Melee Strength).
- Chromium Ingot (3/1088 or ~1/363): Used for Ancient Rings.
- Virtus Robes Piece (1/1088): Mask, Top, or Bottom (1/3264 for a specific piece).
- Secondary Uniques: Awakener's Orb (1/80.6), Strangled Tablet (1/25.5 - Teleport item, gets common until first drop), Blood Quartz (1/204 - Cosmetic, scales to 1/50 until first drop).
- Supplies (1/5.3 roll): Tuna Potato, Prayer Potion(3), Super Combat Potion(2).
- Standard: Runes (Lava, Blood, Soul), Javelin Heads (Rune, Dragon), noted resources (ores, bars), Onyx Bolts (e).
- Tertiary: Butch (Pet, 1/3000), Clue Scrolls, Temple Key (Quest item, only during quest).
Perfect Kills: Avoiding all avoidable damage (off-prayer melee, axes, spikes, head gaze, strangle failure) grants 50% more standard loot quantity.
Conclusion
Vardorvis provides a fast-paced, high-intensity melee encounter that demands constant attention and quick reactions. His random special attacks keep players on their toes, while the enrage phase pushes mechanical skill to the limit. Mastering the axe dodges and head gaze prayer flicks is paramount for success. The rewards, particularly the Ultor Ring vestige and Axe Head, make him a prime target for players seeking top-tier melee upgrades.
Need better gear or stats to take on Vardorvis? Buy OSRS Gold to invest in powerful weapons and armour. Boost your combat stats efficiently with our OSRS Skilling Services. Don't forget to check our guides for the other Desert Treasure II bosses!