
OSRS Hueycoatl Guide: Tactics for the Darkfrost Group Boss | Tons of XP Blog
Take down the mighty Hueycoatl! This OSRS guide covers strategies for the Varlamore group boss, phases, mechanics, team coordination, and rewards like the Dragon Hunter Wand.
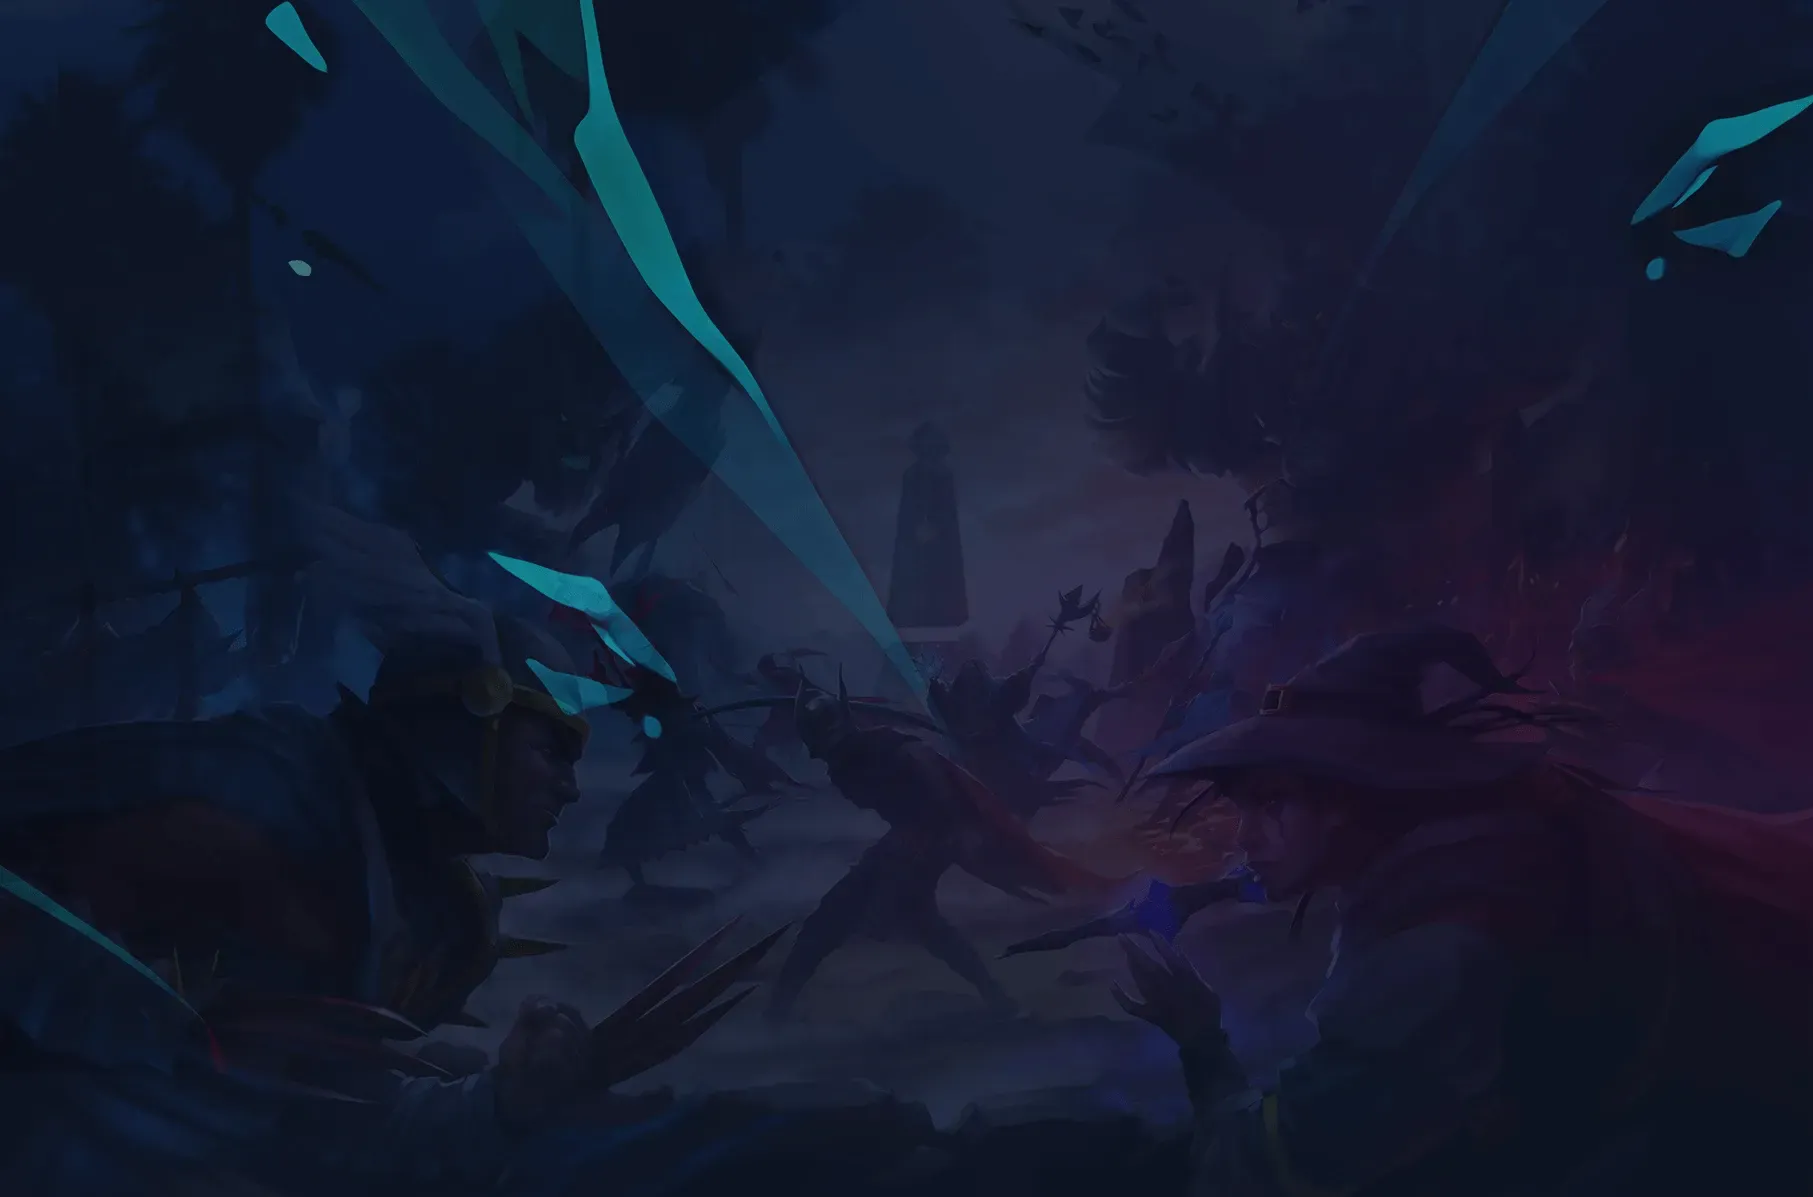
OSRS Hueycoatl Guide: Conquering the Coiled Serpent!
Prepare to face a colossal challenge coiled around Varlamore's Darkfrost mountain: The Hueycoatl! This massive draconic serpent has awakened, and it's up to groups of brave adventurers to ascend the peak and subdue it. Designed as a group encounter (up to 20 players), the Hueycoatl fight involves multiple phases, coordination, and unique mechanics.
This guide covers how to get started, the phases of the fight, key mechanics to watch out for, team strategies, and the valuable rewards you can earn, including the sought-after Dragon Hunter Wand.
Getting Started: Reaching the Darkfrost
- Requirements:
- Completion of
Children of the Sun. - Speak to Taala at the Darkfrost base camp (Hailstorm Mountains region of Varlamore) to gain access.
- Completion of
- Location: The Darkfrost mountain.
- Fastest Travel:
- Pendant of Ates teleport (activate the nearby statue).
- Quetzal Transport System to Quetzacalli Gorge, then run north-west.
- Joining/Starting:
- Public: Climb the chain at the base camp (up to 20 players).
- Private: Use the meeting flag near the bank buffalo (costs 50k GP, reduced with Hard CA rewards). Use Chat Channel "Huey Host" or unofficial worlds (like W420) to find teams.
Fight Overview: Phases & Mechanics
The Hueycoatl fight progresses through distinct phases, each with specific objectives and dangers. Throughout the fight, two core mechanics are always active:
- Glowing Symbols: Symbols appear on the ground near players. After 4 ticks, lightning strikes, dealing damage (~16). Move off these symbols quickly!
- Rain Fire Projectiles: Hueycoatl launches feathers. Pray according to the projectile colour:
- Red (Smoking Tail): Protect from Melee
- Green (Normal): Protect from Missiles
- Blue (Spinning): Protect from Magic
- Correct prayer reduces damage to 0-2; incorrect prayer deals up to 14 damage.
Phase 1: The Body Segments
- Objective: Destroy the five attackable body segments coiled around the mountain base. The path to the summit is blocked by the tail.
- Mechanics: Only Glowing Symbols and Rain Fire are active. The body segments don't attack directly.
- Tips: Each segment has 250 HP. Focus fire to break them quickly. Hitboxes are 1x1 and can be tricky; use NPC Indicators/Tag-All.
Phase 2: The Head & Pillars
- Objective: Damage the Hueycoatl's head (2500 HP) until it reaches 50% health.
- Mechanics: Glowing Symbols and Rain Fire continue. Pillar/Brazier mechanic activates:
- Three pillars (West side) correspond to protection prayers (Blue=Magic, Red=Melee, Green=Range).
- Players need to balance active prayers within the team to charge the pillars (e.g., in a trio, one person needs each prayer active; in a larger team, multiple people per prayer). Required numbers scale with team size.
- When all pillars are charged simultaneously, the seer NPC fills a bar. Once full, the braziers light up, granting a 30% damage buff to everyone.
- Maintain the prayer balance to keep the buff active. If balance is lost when the seer checks, the buff is lost until balance is restored.
- Team Strategy: Coordinate prayers! In smaller teams (1-5 players), assign one prayer per person. In larger teams, divide players evenly. Camp the assigned prayer (tanking off-prayer hits from Rain Fire is usually worth the buff) or flick carefully between seer checks. Solo/duo players cannot activate the buff.
- Transition: At 50% HP, Hueycoatl shields her head and becomes invulnerable. Her tail appears from a cave.
Phase 3: The Tail
- Objective: Destroy the tail's shield (400 HP).
- Mechanics: Glowing Symbols and Rain Fire continue. Tail Slam Shockwave activates:
- Tail periodically slams the ground, sending out a shockwave dealing ~20-25 damage.
- Dodge: Run through the wave diagonally just as it reaches you, or use the far edge tiles as safespots if needed.
- Damage Cap: Attacks on the tail are capped at 4 damage per hit. This cap increases to 9 if Crush is your highest attack bonus. Missed hits still deal 1 damage.
- Strategy: This phase can be slow solo/duo. Swap to multi-hitting CRUSH weapons if possible.
- Best: Dual Macuahuitl (especially with Blood Moon set), Glacial Temotli.
- Okay: Torag's Hammers.
- Otherwise: Use your best weapon, but expect it to take time. Thralls and spec weapons (Ursine Chainmace, Claws) help, but save specs for the final phase in larger groups where this phase is quick.
- Transition: Once the tail's shield breaks, it retreats, and the head becomes vulnerable again.
Phase 4: The Final Stand
- Objective: Finish off the Hueycoatl's remaining head HP.
- Mechanics:
- Glowing Symbols and Rain Fire increase in frequency.
- Tail Slam Shockwave continues periodically (~every 15s).
- Strategy: This is a DPS race combined with constant dodging. Keep moving to avoid shockwaves and lightning. Maintain prayer flicks. Burn down the remaining health.
Loot & Contribution
- Contribution Matters: Loot quantity and unique chance scale with the percentage of damage you dealt (minimum ~75 damage to head/tail needed for any roll). The MVP (most damage) gets a 10% loot bonus and guaranteed Big Bones.
- Unique Drops (Chance per kill, scaled by contribution):
- Hueycoatl Hide (2-3): ~1/34.5 base rate. Used for crafting Hueycoatl Armour.
- Tome of Earth (empty): ~1/92 base rate. Powerful magic off-hand.
- Dragon Hunter Wand: ~1/207 base rate. Best-in-slot wand vs dragons.
- Huasca Seeds: Used for Prayer Regeneration Potions.
- Other Loot: Includes runes, standard seeds, noted resources (ores, logs, fish), bolts/darts, bones, Sunfire Splinters, Soiled Pages.
- Tertiary: Huberte (Pet, ~1/400 base rate, scaled), Clue Scroll (Hard), Tooth Half of Key (Moon Key).
Recommended Gear
- Weakness: Crush. Vulnerable to Dragonbane weapons!
- Primary Weapon:
- Best: Scythe of Vitur (Crush), Dragon Hunter Lance (Crush).
- Good: Inquisitor's Mace, Soulreaper Axe (Crush), Zamorakian Hasta (Crush).
- Budget: Sarachnis Cudgel, Zombie Axe (Crush), Dragon Mace.
- Tail Phase Weapon (Crucial):
- Best: Dual Macuahuitl (ideally with Blood Moon Armour set).
- Good: Glacial Temotli.
- Okay: Torag's Hammers.
- Armour: Prioritize Melee Strength and Crush accuracy. Inquisitor's > Torva > Bandos > Fighter Torso/Obsidian.
- Spec Weapon: Dragon Claws / Burning Claws > Ursine Chainmace (for tail) > Dragon Dagger.
- Inventory: Combat potions, Prayer potions/restores, high-healing food, multi-hit weapon swap for tail phase, Book of the Dead + Runes for Thralls, emergency teleport.
Conclusion
The Hueycoatl offers a dynamic and coordination-focused group bossing experience in Varlamore. Mastering the phases, dodging the hazards, and working effectively as a team are key to securing victory and claiming its valuable rewards. Gather your clanmates or find a team, and prepare to challenge the serpent of the Darkfrost!
Looking to gear up for the Hueycoatl fight? Buy OSRS Gold to afford that Dragon Hunter Lance or other essential equipment. Need better stats? Our OSRS Skilling Services can help you train Attack, Strength, and Defence efficiently! Explore other Varlamore content guides on our blog!