
OSRS Yama Guide: Master of Pacts Boss Strategy & Fight Mechanics | Tons of XP Blog
Conquer Yama, the Master of Pacts! This OSRS guide details Yama's fight mechanics, phases, special attacks (Glyphs, Void Flares), the Judge of Yama, and optimal gear/inventory setups.
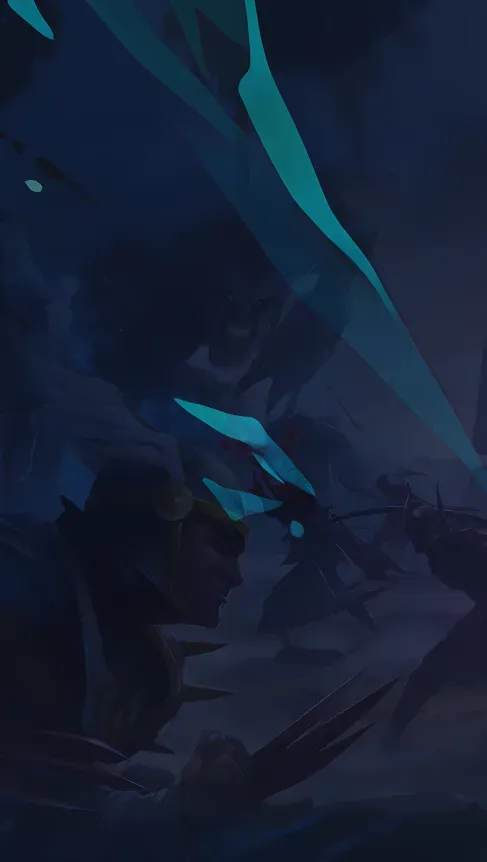
OSRS Yama Guide: Confronting the Master of Pacts
Yama, the Master of Pacts, is a formidable demonic boss encounter introduced after the completion of the A Kingdom Divided quest. Players can challenge Yama in his domain, accessible via the Voice of Yama in the Chasm of Fire. This fight tests players' mechanical skill, prayer switching, and adaptability across multiple phases, whether tackled solo or in a duo. While his stats remain the same regardless of group size, a partner can significantly speed up the fight and ease certain mechanics.
A unique aspect of this fight is its death mechanic: dying to Yama sends you back to the Voice of Yama, where your gravestone also appears. For your first ten kills, the reclamation fee is reduced by 75%.
Requirements & Recommendations
Before you face Yama, ensure you meet the following:
Requirements:
- Completion of A Kingdom Divided.
Strong Recommendations:
- Magic: 82+ (for Dark Demonbane spell, crucial for Void Flares)
- Combat Stats: 80+ Attack & Strength, 75+ Defence
- Prayer: 70+ (for Piety if meleeing) or 77+ (for Augury if maging)
- Quest: Completion of While Guthix Sleeps for access to the Emberlight and Purging Staff.
- Item: At least one player with a Purging Staff for efficiently destroying Void Flares.
- Agility: 83 for a fast shortcut to the Voice of Yama.
Getting to Yama's Domain
Access the Chasm of Fire via:
- Chasm teleport scroll (direct)
- Fairy ring code D J R (south-east)
- Battlefront Teleport (north-west)
Once in the Chasm, the 83 Agility shortcut (sliding down a chain) is the fastest way to reach the Voice of Yama at the bottom. Protect from Melee is advised due to aggressive demons. The Voice of Yama will "Travel" you to Yama's Domain; use "Join" to team up with a partner.
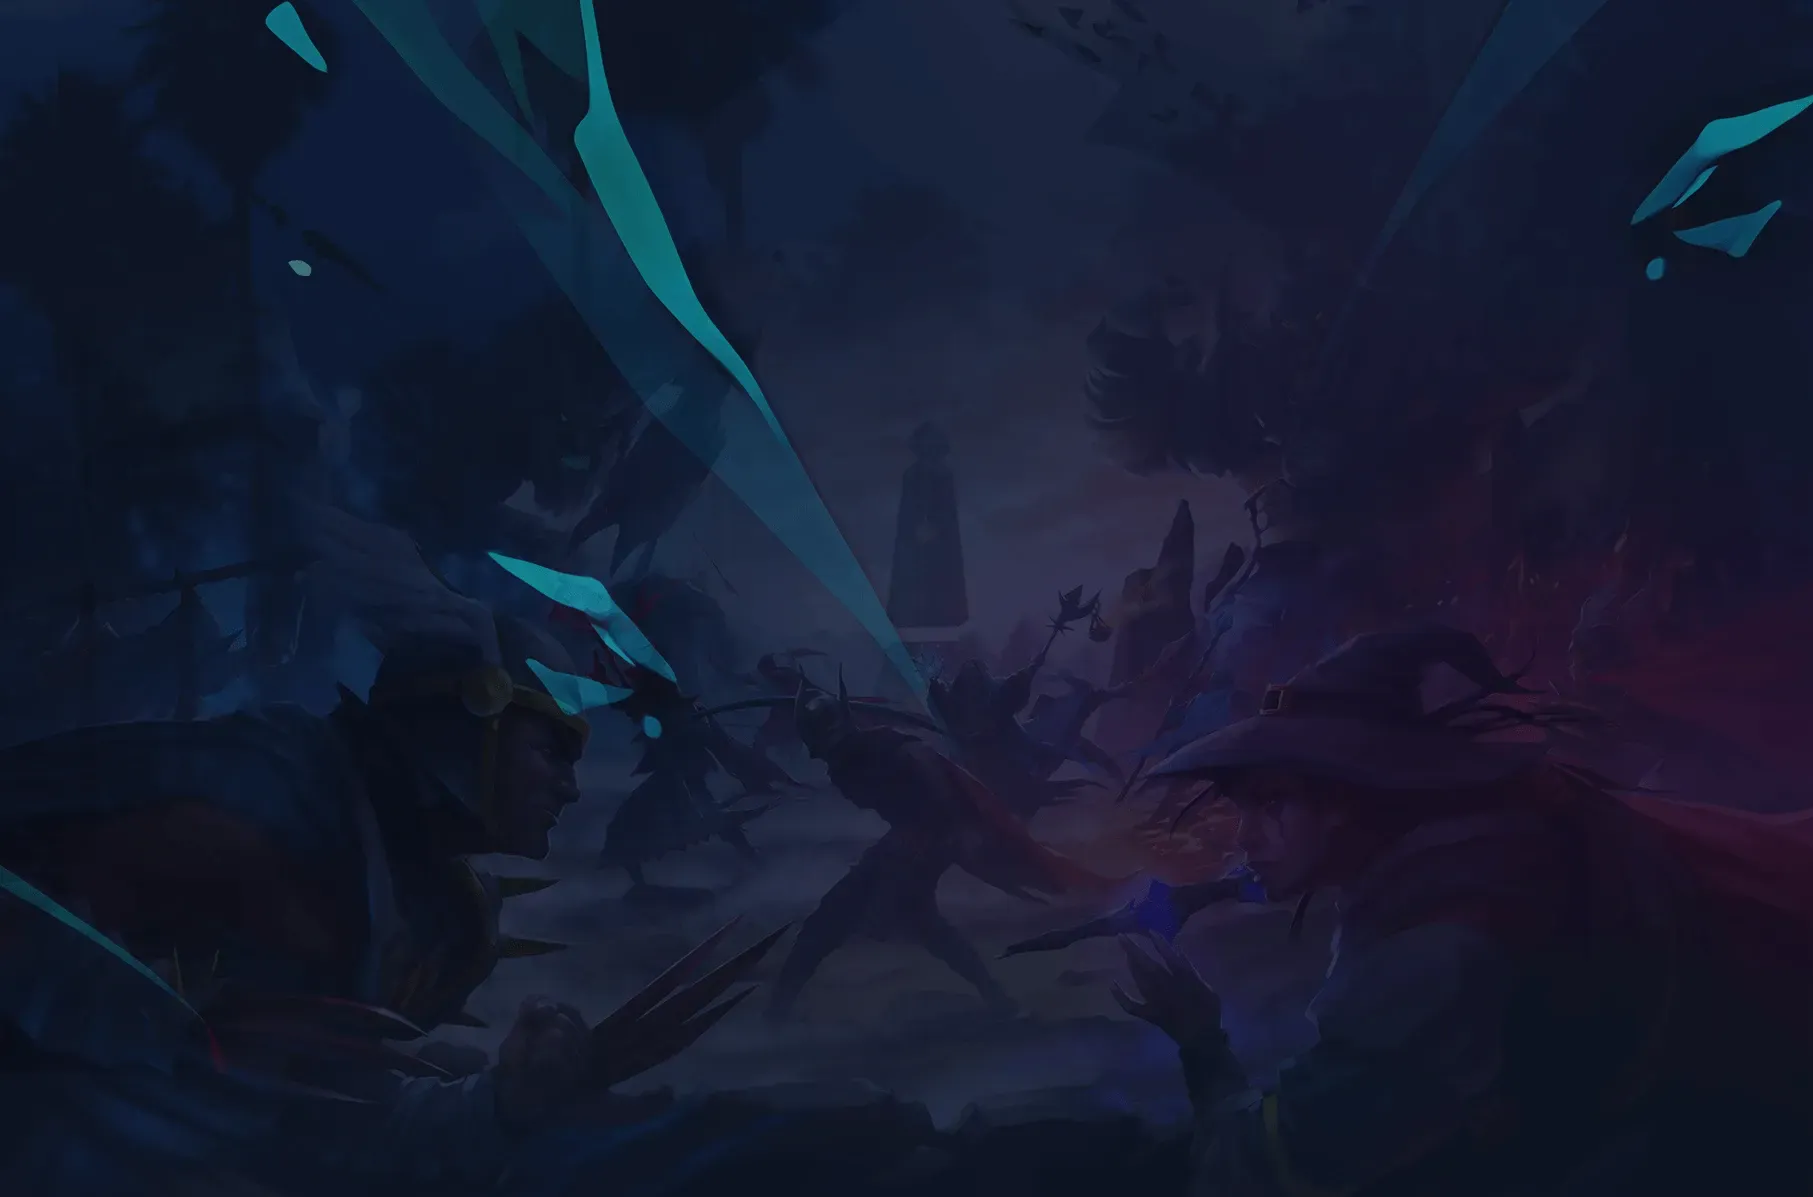
Fight Overview: Yama's Attacks & Mechanics
Yama attacks with all three combat styles, hitting up to 46 without prayer:
- Melee: A wide swing hitting a 1x5 AoE in front if the target is adjacent. Protect from Melee reduces damage to ~6.
- Magic: Flames envelop the player, then Yama snaps. Protect from Magic negates all damage.
- Ranged: Shadowy swirls engulf the player, then Yama snaps. Protect from Missiles negates all damage.
Yama can also inflict poison starting at 20 damage, so poison immunity (e.g., Sanfew serum, Serpentine helm) is highly recommended. His Defence (225) can only be reduced by a maximum of 80. This is best achieved with an Elder Maul special attack or when a partner uses the Soulflame horn's special.
Yama's behavior changes based on your attack style: he chases melee users but stays put (with increased defences) against ranged/magic users.
Phase 1 (100% - 66.6% HP)
The fight begins with two Glyphs (Fire - red, Shadow - purple) near Yama's throne, indicating his initial attack pattern. He performs an auto-attack then a special.
- Glyph Mechanics: To negate damage/effects from Yama's special attacks, stand in the center of the matching glyph.
- Standing on a Glyph of Fire deals minor damage (2-12 based on proximity).
- Standing on a Glyph of Shadow drains prayer.
- In duos, only one player needs to be on the glyph.
- Important: Don't step on glyphs before specials, as they extinguish temporarily. Failing to use a glyph for a special can result in ~60 damage and a burn (fire special).
- Arena Hazards:
- Shadow Waves: Waves of shadow flame move across the arena. "Skip" over them to avoid ~20 damage and brief prayer disabling.
- Fire Streaks: Lines of fire move across the arena, dealing damage and binding if hit.
- Void Flares: Yama summons a fire and shadow Void Flare. These must be destroyed before their yellow bar fills, or they explode for up to 50 damage each.
- They take double damage from demonbane weapons. The Purging Staff with Dark Demonbane and Mark of Darkness is excellent for this.
- You can destroy one flare and stand on the matching glyph to block the other's explosion.
After a special, Yama typically switches combat styles and special attacks, unless Void Flares were just handled.
Judge of Yama (Intermission at 66.6% & 33.3% HP)
When Yama reaches health thresholds, he teleports players to a sub-arena to fight a Judge of Yama.
- Players hop across stones, dodging fire spells (up to 28 damage). The chamber also shakes, dealing 5-7 damage.
- The Judge has 400 HP (shared in duos) and uses two protection prayers simultaneously (initially Melee & Ranged). It switches prayers based on your last attack style, so bring two combat styles.
- You always deal your max hit on the Judge (multi-hit weapons only hit once).
- Strategy: Attack with magic from the third-to-last stone platform, then quickly switch to melee. You can also stand under the Judge to make its fireballs hit itself for 13-18 damage.
- Killing the Judge teleports you back to Yama's throne.
Phase 2 (66.6% - 33.3% HP)
This phase is similar to Phase 1, but with increased intensity:
- Two Shadow Waves spawn instead of one.
- More Fire Streaks appear.
- Yama may be close to the throne upon your return; be ready to move if ranging/maging. He will attempt to melee until attacked.
- New Special Attacks (negate with Glyphs):
- Meteor Strike (Fire): A large meteor targets a player, canceling actions and disabling run. You must move at least two tiles from the meteor's center to avoid an instant kill. Being on the edge deals 80 damage; one tile from the shadow deals 40. Inflicts a burn.
- Shadow Stomp (Shadow): Yama stomps, dealing up to 60 damage and draining prayer.
Phase 3 (33.3% - 0% HP)
Yama moves to the center of the arena, and his defences increase (though drained stats remain).
- All glyphs are disabled.
- Yama alternates Ranged and Magic attacks. His first attack in this phase is opposite to what he started with in P1/P2.
- Prayer piercing is significantly increased: Melee can hit up to 22 through prayer, Ranged/Magic up to 3.
- Shadow Waves now come in sets of two or four.
- Fireball Special (when outside melee): Yama launches three fireballs in a line. Smoke clouds from the side fireballs converge towards the center. This happens three times (orthogonal, diagonal, orthogonal). Dodge by moving at least one tile perpendicular to the line of fireballs. Yama continues standard attacks during this.
- Void Flares: Two may appear periodically with only 71 HP. If Yama uses a melee attack, an additional void flare spawns instead of the triple fireball. To one-shot these, use the Purging Staff, Dark Demonbane, Mark of Darkness, and have a 20% magic damage bonus.
- Duo Flare Strategy: One player west, one east. Alternatively, one player can stand north of Yama (melee range) and spec flares.
The Donofly (Advanced Phase 3 Melee Strategy)
This advanced technique uses Arclight or Emberlight with precise movements to avoid all shadow waves and triple fireballs, while also preventing Yama from using melee attacks (thus avoiding extra void flare spawns). It requires tick-perfect timing, especially in duos.
Donofly Cycle (Tile markers highly recommended):
- Move to Tile 1.
- Attack Yama as his hand is above his head.
- Immediately move to Tile 2; attack Yama.
- Immediately move to Tile 3; attack Yama.
- Immediately Ctrl+click-walk to Tile 4; attack Yama.
- Immediately move to Tile 5; attack Yama.
- Immediately return to Tile 1 and repeat. If the phase takes too long, two void flares may spawn, potentially requiring a switch back to magic.
Equipment Recommendations
Yama is weakest to Slash (melee) and Magic.
- Phase 1 & 2: Yama has +80 Slash defence and -30 Magic defence. If his target uses magic, his Magic defence rises to +60.
- Phase 3: Defence bonuses increase to +108 Slash and +81 Magic.
Melee (Slash Focus): More powerful if Yama's defence is reduced.
- Weapon: Emberlight > Arclight > Scythe of Vitur > Zombie Axe.
- Armour: Torva/Oathplate > Bandos > Blood Moon/Fighter Torso.
- Shield: Avernic Defender > Dragon Defender.
- Specials: Elder Maul (with Soulflame Horn for guaranteed def reduction) or Emberlight specs to lower defence. Burning Claws / Dragon Claws for damage. Saradomin Godsword for healing on Judge.
Magic: Consistent damage and easier manoeuvrability.
- Weapon: Purging Staff (for Dark Demonbane/Mark of Darkness on flares and main attacks) / Tumeken's Shadow (especially for P3).
- Armour: Ancestral > Virtus > Ahrim's/Blue Moon.
- Shield: Elidinis' Ward (f) > Arcane Spirit Shield.
- Specials: Accursed Sceptre (to lower Yama's magic level), Purging Staff (for last hit on flares for cooldown reset), Saradomin Godsword (for healing on Judge).
Inventory Setups (General)
Adapt based on solo/duo and chosen style.
- Core:
- Divine Combat/Ranging/Magic Potion.
- Sanfew Serum (or other anti-poison).
- Multiple Super Restores/Prayer Potions.
- High-healing food (e.g., Cooked Moonlight Antelope, Anglerfish) + Karambwans for combo eating.
- Rune Pouch: Runes for Dark Demonbane, Mark of Darkness, thralls (Book of the Dead). Consider Aether runes for efficiency.
- Teleport out (e.g., House tabs/Construction cape for POH, Crafting cape for bank).
- Melee Specifics:
- Switch for Purging Staff (Occult, Tormented Bracelet).
- Special attack weapon (claws, SGS).
- Surge Potion for more specs in P3 if using Donofly.
- Magic Specifics:
- Saturated Heart / Forgotten Brew.
- Melee weapon switch for Judge of Yama (e.g., Inquisitor's Mace, SGS).
- Accursed Sceptre.
- (Optional) Tumeken's Shadow for P3.
Conclusion: Mastering the Pacts
The Yama encounter is a true test of a player's PvM abilities, demanding concentration and quick reactions. Understanding his attack patterns, mastering glyph usage, efficiently dispatching Void Flares, and navigating the Judge of Yama intermissions are crucial for success. For those willing to learn the advanced "Donofly" technique, Phase 3 can become significantly smoother. With practice and the right preparation, you can overcome the Master of Pacts and claim your rewards.
Struggling with the "A Kingdom Divided" quest or looking to gear up for tough bosses like Yama? Check out our OSRS Quest Services and OSRS PVM Services to get you ready for any challenge Gielinor throws your way!